
The biggest question when starting out with your first gourmet health mushroom project, is where to put it and does this even matter? We’re here to tell you it matters more than you may realize! It can either make or break a project! Health mushrooms need certain factors met to get them started. We are looking for a curated environment with all the right components, where our little friends can thrive. Meeting these requirements doesn’t have to be hard work. We’re here to help!
When we are thinking of the perfect spot for our project, it’s important to take a few factors into consideration. Health mushrooms require good air circulation, stable temperatures and the right amount of moisture to perform at their best. One of the most important factors to consider is providing a sterile environment for your project to come to life in. If something is off in the environment this will manifest itself within the results, or lack thereof.
It’s important to always keep in mind that this is a scientific process and little tweaks here and there are to be expected. This can be a learning curve but you’re in right place to get set-up for success!
Air Circulation

The first factor to consider is air circulation. Providing an area that has fresh air is essential for mushrooms to grow. Too high or low carbon dioxide will affect the results of the project. Ensure the project is kept in an open area that regularly receives fresh air to prevent this. Tight spaces are not suitable for any mushroom project. To give you a guide on space recommendation take the measurements of the relevant size incubation and fruiting chamber that correlates with the kit you are planning on using and ensure your space can fit a box of this size (even if you plan to use an alternative this is to give you an idea of this size space you will need).
Temperature

Stabilizing the temperatures and therefore reducing heat exchange are essential for producing results from the project. This also helps with our moisture control. Unstable temperatures contribute to drying out the kit more rapidly. Using an incubator like our All in One Fruiting and Incubation Chamber can be a great option for providing a suitable microenvironment for the project. These tubs allow for more control over the temperature. Great news, it also gives the little guys an extra layer of protection from that pesky stuff we all hate, contamination!
Humidity and Lighting

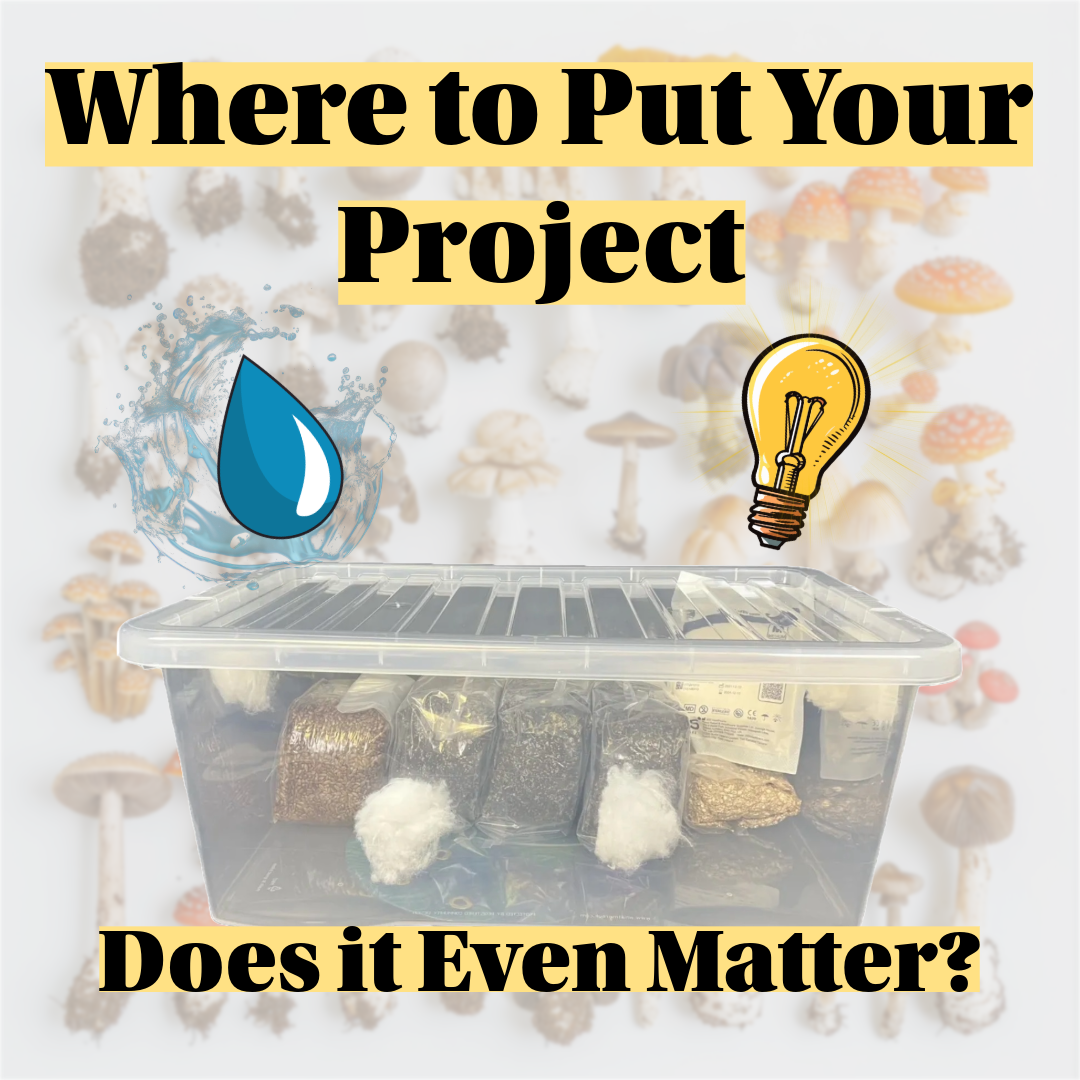
Keeping the moisture within your project mainly comes down to maintaining a stable environment throughout the project. Moisture leaves the project due to several reasons. The biggest being unstable temperatures fluctuating frequently, which will dry out your project. Too much light can also be a problem, especially during the fruiting stage. This will also contribute to drying of the substrate. If you notice the project is dry this could signify a need for a tweak in the environment in the areas mentioned.
For most of our kits, 12 hours of light followed by 12 hours of complete darkness is needed for the fruiting process. Otherwise, whilst the bags are cultivating they need to be in complete darkness. When it comes to introducing your bag to the light, it must be low, in-direct lighting. Too much light can scare your mycelium into hibernation! Therefore, placing it too close to natural or artificial lighting can stunt your project. Natural lighting can be used, but during the Winter months this can be difficult as the light is weaker, and does not stretch for the full 12 hours. Artificial lights come in all shapes and sizes. Dimmable lights are best, with red/blue spectrum or full colour spectrum being more beneficial to your project.
Positioning

An ideal spot for your project will be raised above floor level, positioned away from any windows. Floor level is a dangerous area for contamination to ruminate as this is where dust settles, dragging dirty microbes with it. Therefore, a project at floor level is really asking to be contaminated. Ensuring you have an area that can be sterilized and free from any pets is essential. You can use one of our fruiting and incubation chambers to prevent contamination! If you do have doubts of whether you have a suitable area in mind then why not pop some images over to [email protected] and we can advise you further.
Remember go easy with yourself when getting started. This can be a lot of information to take in at first. As with any learning process, there can be up and downs, but that’s why we are here to help you release your inner mycology expert! Once you have the right set-up and environmental conditions in place you will be able to repeat this until your heart is content! As always, please contact us if you have any questions in regards to anything we’ve mentioned in this article! We’re here to help!


